
Why Most Odoo Users Get Analytic Accounting Wrong
Financial accounting tells you what you spent. Analytic accounting tells you where and why. Yet most Odoo users skip analytic setup entirely, then struggle to answer basic questions like "How profitable was Project X?" or "Which department overspent this quarter?"
According to Odoo implementation surveys, 73% of companies abandon analytic accounting within the first year because the initial setup feels overwhelming. The problem is not the feature: it's the approach.
This guide walks you through a working analytic accounting setup, from plans to accounts to automatic distribution, with real examples you can copy.
1. Create analytic plans (departments, projects, locations)
2. Create analytic accounts under each plan
3. Set distribution rules to auto-assign costs
Result: Every invoice, bill, and journal entry automatically tracks profitability by dimension.
Financial vs Analytic Accounting: The Critical Difference
Before configuring anything, understand the distinction. Financial accounting produces your balance sheet and P&L: reports required by law. Analytic accounting produces management reports: reports required by you.
Consider a $5,000 electricity bill:
| Aspect | Financial Accounting | Analytic Accounting |
|---|---|---|
| Purpose | Legal compliance | Internal decisions |
| Records | Utilities Expense: $5,000 | Warehouse: $3,000 / Office: $2,000 |
| Impact | Affects P&L and taxes | No impact on financial books |
| Required | Yes, by law | No, but critical for decisions |
The financial entry stays the same. The analytic breakdown gives you the visibility to cut costs where they matter.
Step 1: Create Analytic Plans
Analytic plans are your dimensions of analysis. Think of each plan as a lens through which you view your finances. Common plans include departments, projects, locations, and product lines.

Navigate to Analytic Plans
Go to Accounting > Configuration > Analytic Accounting > Analytic Plans. Click New to create your first plan.
Example: Department Plan
Create a plan called "Departments" with these settings:
- Name: Departments
- Applicability: Optional (users can tag entries but aren't forced to)
- Company: Leave blank to apply across all companies
Example: Project Plan
Create a second plan called "Projects" with the same settings. Each project you create in the Project app can automatically generate an analytic account under this plan.
Example: Location Plan
For multi-location businesses, create a "Locations" plan to track costs by warehouse, branch, or store.
Best practice: Start with 2-3 plans maximum. Adding too many dimensions creates analysis paralysis. You can always add more later.
Step 2: Create Analytic Accounts
Accounts live inside plans. If a plan is "Departments," the accounts are "Sales," "Operations," "IT," and so on.

Manual Account Creation
Navigate to Accounting > Configuration > Analytic Accounting > Analytic Accounts. Click New:
- Name: Sales Department
- Plan: Departments
- Prefix: DEPT-SALES (optional, for easy identification)
Repeat for each department, project, or location you need to track.
Automatic Account Creation from Projects
When you create a project in the Project app, Odoo can automatically create a matching analytic account. Go to your Project Plan settings and enable "Create analytic account on project creation." Now every new project gets cost tracking out of the box.
Parent-Child Account Structure
For complex organizations, use parent-child hierarchies:
- Operations (parent)
- Warehouse A (child)
- Warehouse B (child)
- Fleet (child)
Reports roll up children to parents automatically, giving you both detail and summary views.
Step 3: Configure Analytic Distribution
Here's where analytic accounting becomes powerful. Instead of manually tagging every transaction, set up distribution rules that automatically split costs across accounts.

Example: Splitting Rent by Department
Your monthly rent is $10,000. The warehouse uses 60% of the space, sales uses 25%, and the office uses 15%. Create a distribution model:
- Label: Monthly Rent Allocation
- Analytic Account: Rent Expense
- Distribution: Warehouse 60%, Sales 25%, Office 15%
Now every rent invoice automatically splits across three departments. No manual entry required.
Product-Based Distribution
Link analytic accounts to product categories. When you sell a product from the "Consulting" category, revenue automatically tags to the Consulting analytic account. When you buy materials from the "Raw Materials" category, costs tag to Production.
Journal Item Distribution
On individual journal entries, you can override the default distribution using the analytic widget. Click the analytic button on any line item to adjust allocations in real time.
Step 4: Analytic Accounting in Daily Operations
Once configured, analytic accounting works silently in the background. Here's how it shows up in your daily workflows:
Customer Invoices
When you create an invoice for a project, the revenue automatically tags to that project's analytic account. You can see project profitability in real time without running separate reports.
Vendor Bills
When you receive a vendor bill, select the relevant analytic account. If you set up distribution models, the split happens automatically. Mixed bills (like utilities) distribute across departments based on your rules.
Timesheets
Employee timesheets link to analytic accounts. When someone logs 4 hours to "Project Alpha," the labor cost flows directly to that project's P&L.
Expense Reports
Employee expenses tag to analytic accounts. A sales rep's travel expense hits the Sales Department account. A consultant's software subscription hits the Projects account.
Step 5: Analytic Reporting That Actually Helps
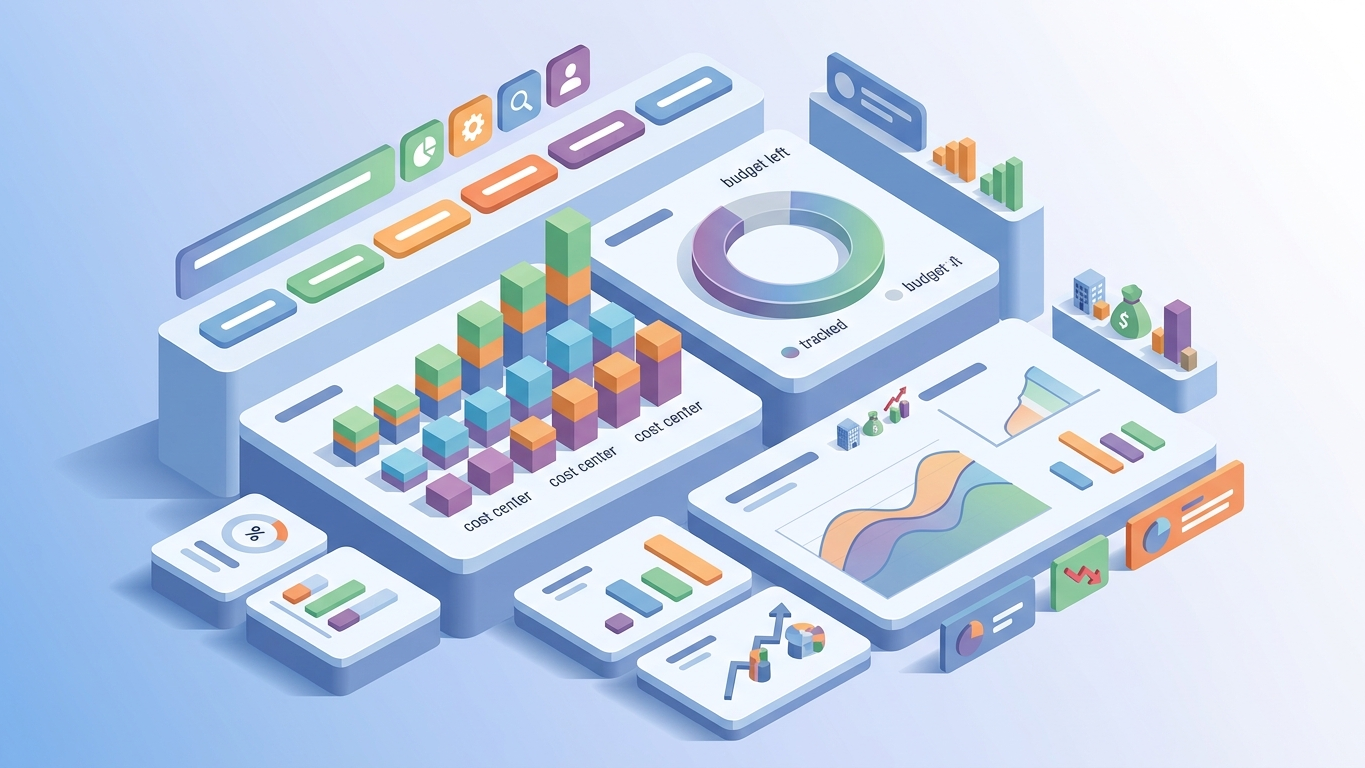
Setup is useless without reporting. Odoo provides three analytic reports that turn data into decisions:
Analytic Report
The main report shows income and expenses by analytic account. Filter by plan, date range, or company. Drill down from summary totals to individual transactions with one click.
Analytic Plans Overview
This dashboard shows all plans side by side. Compare department spending, project margins, or location costs in a single view.
Profitability by Project
For service businesses, this is the most important report. Revenue minus costs equals margin. You can spot unprofitable projects before they drain your resources.
Common Mistakes to Avoid
Too Many Plans Too Fast
Start with departments and projects. Add locations, product lines, or campaigns only after your team is comfortable with the basics. Each plan adds complexity to every transaction.
Forgetting to Set Defaults
If users have to manually select analytic accounts on every entry, they will skip it. Use distribution models, product defaults, and project auto-linking to minimize manual work.
Not Training Your Team
Analytic accounting only works if everyone uses it consistently. Train invoice clerks, project managers, and expense reporters on when and how to select analytic accounts.
Ignoring Reconciliation
Review analytic reports monthly. If a department shows zero expenses, someone is forgetting to tag entries. Fix the gap before it becomes a quarterly reporting problem.
Key Takeaways: This guide provides a comprehensive walkthrough of odoo analytic accounting: complete setup guide for cost centers in 2026. Follow the step-by-step instructions to implement these strategies in your Odoo instance.
Frequently Asked Questions
What is the difference between analytic accounts and analytic plans in Odoo?
Analytic plans are categories or dimensions of analysis (like Departments or Projects). Analytic accounts are the specific items within each plan (like Sales Department or Project Alpha). Plans organize accounts: you must create a plan before you can create accounts within it.
Does analytic accounting affect financial reports in Odoo?
No. Analytic accounting runs parallel to financial accounting. It does not change your balance sheet, P&L, or tax reports. Analytic entries are purely for internal management reporting and decision-making.
How many analytic plans should I create in Odoo?
Start with 2-3 plans: typically Departments and Projects, plus Locations if you operate multiple sites. Adding more than 4 plans creates analysis paralysis and makes daily data entry cumbersome. You can always add new plans as your business grows.
Can analytic accounts be created automatically in Odoo?
Yes. When you enable the option on your Analytic Plan, creating a new project automatically generates a matching analytic account. You can also set up analytic defaults on products, so sales and purchases automatically tag to the right accounts.
How do I split one expense across multiple analytic accounts?
Use analytic distribution models. Create a model with your percentage splits (for example, 60% Warehouse, 25% Sales, 15% Office). When you apply this model to an invoice or bill, Odoo automatically creates the proportional analytic entries for each account.
Need Help with This in Odoo?
Our team at Odoo Skillz can set this up for you: no customization headaches, no guesswork.
References
Setting up analytic accounting takes a few hours. Getting it wrong costs months of missing data. Talk to our team for a clean setup that matches your business structure, or explore our Odoo consulting services for end-to-end implementation support.