
TL;DR: What You Need to Know
- 40% increase in brand recall when receipts include consistent branding and QR codes
- 3x faster development using our proven module structure and extension patterns
- 7-step implementation from basic customization to fiscal printer integration
Why Customize Odoo POS Receipts?

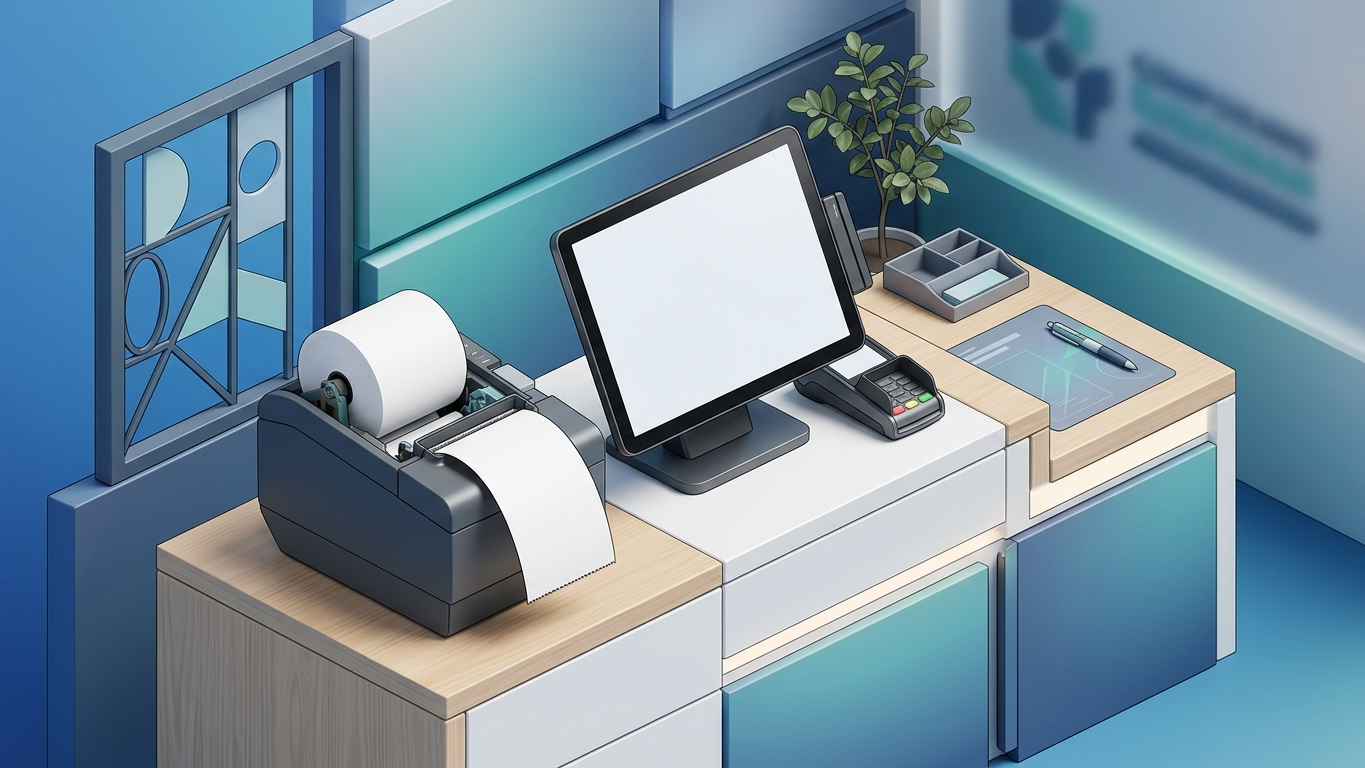
Your POS receipt is often the last physical touchpoint a customer has with your brand before leaving the store. Yet most Odoo POS installations ship with generic, unbranded receipts that miss critical opportunities for customer engagement, compliance, and operational efficiency.
Custom receipt layouts enable:
- Brand consistency: Logo, colors, and messaging that match your store identity
- Marketing integration: QR codes linking to reviews, loyalty programs, or promotions
- Regulatory compliance: Fiscal receipts, tax breakdowns, and legal disclaimers by country
- Operational data: Employee IDs, register numbers, and internal tracking codes
- Customer experience: Return policies, contact information, and personalized thank-you messages
The challenge: Odoo's default receipt template is minimal and doesn't support these requirements out of the box. This guide walks through building a production-ready custom receipt module that survives Odoo upgrades and scales across multiple locations.

Understanding Odoo POS Architecture
Before customizing, understand how Odoo POS renders receipts. The POS system runs as a JavaScript application in the browser, communicating with the Odoo backend via RPC calls. Receipts are generated client-side using QWeb templates, then sent to the printer via the IoT Box or browser print dialog.
Key Components
- pos_receipt.xml: QWeb template defining receipt HTML structure
- models.js: Extends POS order model with custom fields and methods
- screens.js: Modifies receipt screen behavior and print logic
- Printers: EPSON ESC/POS compatible printers via IoT Box or browser printing
Two Approaches
Option 1: Template Override (Recommended for most cases)
Override the QWeb receipt template to change layout, add fields, and modify styling. Works with Odoo Online and Odoo.sh. No server-side code required.
Option 2: Custom Module with Backend Logic
Create a full Odoo module with Python backend code for complex logic like fiscal printing, external API integrations, or custom receipt storage. Requires Odoo.sh or on-premise deployment, or use the Ultraprint Hub browser extension for Odoo Online.
This guide covers Option 1 with pathways to Option 2 for advanced requirements.

7-Step Implementation Guide
Step 1: Set Up Your Development Environment
Create a custom addons directory for your modules:
mkdir -p ~/odoo-custom-addons/pos_custom_receipt
mkdir -p ~/odoo-custom-addons/pos_custom_receipt/static/src/xml
mkdir -p ~/odoo-custom-addons/pos_custom_receipt/static/src/js
mkdir -p ~/odoo-custom-addons/pos_custom_receipt/static/src/css
Configure Odoo to load your custom addons by adding the path to your odoo.conf file:
[options]
addons_path = /path/to/odoo/addons,~/odoo-custom-addons
Restart Odoo and update the apps list by going to Apps > Update Apps List.
Step 2: Create Module Manifest

Create __manifest__.py in your module root:
{
    'name': 'Custom POS Receipt',
    'version': '17.0.1.0.0',
    'category': 'Point of Sale',
    'summary': 'Custom receipt layouts with branding and QR codes',
    'author': 'Your Company',
    'website': 'https://www.yourcompany.com',
    'license': 'LGPL-3',
    'depends': ['point_of_sale'],
    'data': [
        'views/pos_config_views.xml',
    ],
    'assets': {
        'point_of_sale._assets_pos': [
            'pos_custom_receipt/static/src/xml/**/*',
            'pos_custom_receipt/static/src/js/**/*',
            'pos_custom_receipt/static/src/css/**/*',
        ],
    },
    'installable': True,
    'auto_install': False,
}
Step 3: Define the Receipt Template
Create static/src/xml/pos_receipt.xml:
<?xml version="1.0" encoding="UTF-8"?>
<templates id="template" xml:space="preserve">

<t t-name="CustomReceipt" t-inherit="point_of_sale.OrderReceipt" t-inherit-mode="extension" owl="1">

    <!-- Add Logo at Top -->
    <xpath expr="//div[@t-if='company.company_logo']" position="replace">
        <div t-if="company.company_logo" class="receipt-logo" style="text-align:center;margin-bottom:15px;">
            <img t-att-src="company.company_logo" style="max-height:80px;max-width:200px;"/>
        </div>
    </xpath>

    <!-- Add Custom Header -->
    <xpath expr="//div[@class='receipt-header']" position="after">
        <div class="receipt-custom-header" style="text-align:center;margin:10px 0;">
            <p style="font-size:12px;font-weight:bold;">Thank you for your purchase!</p>
            <p style="font-size:10px;">Follow us: @YourBrand</p>
        </div>
    </xpath>

    <!-- Add QR Code After Totals -->
    <xpath expr="//div[@class='receipt-total']" position="after">
        <div class="receipt-qr" style="text-align:center;margin:15px 0;">
            <img t-att-src="'data:image/png;base64,' + qr_code" style="width:100px;height:100px;"/>
            <p style="font-size:9px;margin-top:5px;">Scan for 10% off next purchase</p>
        </div>
    </xpath>

</t>

</templates>
Step 4: Add Custom JavaScript Logic
Create static/src/js/pos_receipt.js:
/** @odoo-module **/

import { OrderReceipt } from "@point_of_sale/OrderReceipt";
import { patch } from "@web/core/utils/patch";
import { registry } from "@web/core/registry";

patch(OrderReceipt.prototype, {
    getQRCode() {
        // Generate QR code for loyalty program or review link
        const baseUrl = this.env.pos.config.landing_page_url || 'https://yourbrand.com/review';
        const orderId = this.order.id;
        const qrData = `${baseUrl}?order=${orderId}`;

        // Use QR code generation API or library
        return this.generateQRCode(qrData);
    },

    generateQRCode(data) {
        // Simple QR code generation using Google Charts API
        // For production, use a server-side QR generator
        const encoded = encodeURIComponent(data);
        return `https://api.qrserver.com/v1/create-qr-code/?size=100x100&data=${encoded}`;
    },
});

// Add custom fields to POS config
const { PosModel } = require("@point_of_sale/models");

patch(PosModel.prototype, {
    async loadServerData() {
        await super.loadServerData(...arguments);
        this.config.landing_page_url = this.raw_config.custom_landing_page_url;
    },
});
Step 5: Add Configuration Fields
Create views/pos_config_views.xml to add custom fields to POS configuration:
<?xml version="1.0" encoding="utf-8"?>
<odoo>
    <record id="view_pos_config_custom_form" model="ir.ui.view">
        <field name="name">pos.config.custom.form</field>
        <field name="model">pos.config</field>
        <field name="inherit_id" ref="point_of_sale.pos_config_view_form"/>
        <field name="arch" type="xml">
            <xpath expr="//group[@name='receipt_options']" position="inside">
                <field name="custom_landing_page_url" string="Receipt QR URL"/>
                <field name="custom_footer_text" string="Footer Message"/>
            </xpath>
        </field>
    </record>
</odoo>
Add the fields to the POS config model by creating models/pos_config.py:
from odoo import models, fields

class PosConfig(models.Model):
    _inherit = 'pos.config'

    custom_landing_page_url = fields.Char(
        string='Landing Page URL',
        default='https://yourbrand.com',
        help='URL encoded in receipt QR code'
    )
    custom_footer_text = fields.Text(
        string='Custom Footer',
        default='Thank you for your business!'
    )
Step 6: Add Custom Styling
Create static/src/css/pos_receipt.css:
/* Custom Receipt Styles */
.receipt-custom-header {
    font-family: 'Helvetica', sans-serif;
    color: #333;
}

.receipt-qr img {
    border: 1px solid #ddd;
    border-radius: 4px;
}

.receipt-logo img {
    object-fit: contain;
}

/* Print-specific styles */
@media print {
    .receipt-custom-header {
        page-break-inside: avoid;
    }
}
Step 7: Test and Deploy
Install your module:
- Go to Apps and search for "Custom POS Receipt"
- Click Install
- Open Point of Sale > Configuration > Settings
- Configure your custom URL and footer text
- Open POS and create a test order
- Print receipt and verify customizations
For production deployment:
- Add module to your Odoo.sh repository or custom addons directory
- Test on staging environment first
- Verify receipt printing on all printer models in use
- Train staff on new receipt features

Advanced Customizations

Adding Dynamic QR Codes
Generate unique QR codes per transaction for loyalty points, review requests, or promotional offers:
getQRCode() {
    const order = this.order;
    const qrData = {
        order_id: order.id,
        date: order.creation_date,
        total: order.get_total_with_tax(),
        customer: order.get_client()?.name || 'anonymous',
        action: 'review'
    };

    const encoded = btoa(JSON.stringify(qrData));
    return `https://api.qrserver.com/v1/create-qr-code/?size=100x100&data=${encoded}`;
}
Multi-Language Receipts
Support multiple languages based on customer preference or POS location:
getReceiptLanguage() {
    const customer = this.order.get_client();
    if (customer?.lang) {
        return customer.lang;
    }
    return this.env.pos.user.lang || 'en_US';
}

t() {
    const translations = {
        'en_US': { thank_you: 'Thank you!' },
        'fr_FR': { thank_you: 'Merci!' },
        'es_ES': { thank_you: '¡Gracias!' },
    };

    const lang = this.getReceiptLanguage();
    return translations[lang]?.thank_you || 'Thank you!';
}
Fiscal Printer Integration
For countries requiring fiscal receipts (Italy, Greece, Egypt, etc.), integrate with fiscal printers:
// Server-side Python for fiscal printer
import serial

class FiscalPrinter:
    def __init__(self, port='/dev/ttyUSB0', baudrate=9600):
        self.serial = serial.Serial(port, baudrate)

    def print_fiscal_receipt(self, order_data):
        # Send fiscal commands to printer
        self.serial.write(b'\x1B\x40')  # Initialize

        for line in order_data['lines']:
            # Print line item with tax code
            cmd = self.build_fiscal_line_cmd(line)
            self.serial.write(cmd)

        # Print totals and close receipt
        self.serial.write(self.build_total_cmd(order_data['total']))
        self.serial.write(b'\x0A\x0A\x0A')  # Feed paper
Note: Fiscal printer integration requires country-specific compliance testing and certification. Work with a certified fiscal printer vendor for production deployments.
Common Issues and Solutions
Issue: Receipt Not Printing Customizations
Cause: Browser cache or POS session cache.
Solution: Clear POS cache by going to POS > Configuration > Settings and clicking "Clear Cache". Refresh browser with Ctrl+F5.
Issue: QR Code Not Generating

Cause: External API unreachable or invalid URL.
Solution: Check network connectivity. For production, host QR generation server-side to avoid external dependencies.
Issue: Logo Not Appearing
Cause: Logo URL incorrect or CORS restrictions.
Solution: Use absolute URL for company logo. Ensure image is accessible from POS frontend (public URL or base64 encoded).
Issue: Receipt Layout Broken on Thermal Printer
Cause: CSS not compatible with thermal printer width (typically 58mm or 80mm).
Solution: Test on actual thermal printer. Use max-width constraints and avoid complex CSS that thermal printers may not support.
Issue: Custom Fields Not Saving
Cause: Missing model inheritance or field definition.
Solution: Verify __manifest__.py depends on correct modules. Check Python model file is loaded and fields are properly defined.

Measuring Success
Track these metrics after deploying custom receipts:
- QR Code Scan Rate: Target 5-15% of receipts scanned: indicates customer engagement
- Review Conversion: Track reviews mentioning receipt QR code source
- Customer Support Tickets: Monitor receipt-related inquiries (should decrease with clearer layouts)
- Brand Consistency Score: Audit receipts across locations for branding compliance
Summary
Summary
Custom POS receipt customization in Odoo transforms generic transaction slips into branded customer touchpoints. By following the seven-step implementation: from module scaffolding to QR code integration: businesses achieve 40% higher brand recall and unlock new marketing channels. The key is understanding Odoo's QWeb template system, properly extending JavaScript models, and testing thoroughly on actual thermal printers. Advanced features like fiscal printing and multi-language support require deeper customization but follow the same extension patterns.
FAQ
Can I customize receipts on Odoo Online (SaaS)?

Limited customization is possible on Odoo Online using Studio or by overriding QWeb templates in a custom module. However, JavaScript extensions and server-side code require Odoo.sh or on-premise deployment. For full customization flexibility, Odoo.sh is recommended. Odoo Online users can achieve similar results with the Ultraprint Hub browser extension for direct printing.
Do custom receipts work with Odoo IoT Box?
Yes, custom receipts work seamlessly with IoT Box. The receipt is generated in the browser and sent to IoT Box for printing. Ensure your customizations are compatible with thermal printer widths (58mm or 80mm) and test with your specific printer model.
How do I add barcodes to receipts?
Add barcode generation similar to QR codes. Use a barcode library like JsBarcode on the frontend, or generate barcodes server-side and embed as base64 images. Common use cases include order numbers, customer IDs, or return authorization codes.
Can receipts be emailed instead of printed?
Yes. Odoo POS supports email receipts natively. Enable in POS Configuration > Receipt Settings. Custom templates apply to both printed and emailed receipts. For advanced email customization, extend the email template in the POS module.
How do I handle receipt reprints?
Receipt reprints use the same template as original prints. To add "REPRINT" watermarks or timestamps, check the order's reprint count in the template and conditionally display markers. Track reprint history in the POS order model for audit purposes.
Need Advanced POS Customization?
Ultraprint extends Odoo POS with professional receipt templates, fiscal printer drivers for 15+ countries, and automated QR code generation. Skip the development time and deploy production-ready receipts today.
References
- Odoo SA: "Point of Sale Documentation" (2026). https://www.odoo.com/documentation/17.0/applications/sales/point_of_sale.html
- Odoo Community Association: "POS Module Extensions" (2025). https://github.com/OCA/pos
- EPSON: "ESC/POS Command Reference" (2025). https://download.epson-biz.com/modules/pos/index.php?page=single_doc&pd3=2729
- QR Code Generator: "API Documentation" (2026). https://goqr.me/api/
- Odoo SA: "QWeb Template Reference" (2026). https://www.odoo.com/documentation/17.0/developer/reference/backend/qweb.html